The dental whitening splint is one of the most frequent methods in aesthetic dentistry. It is the ideal option for many, perhaps because of the convenience of applying it at home, or perhaps because in some clinics it is the least expensive variant of tooth whitening. We have already written articles on tooth whitening methods, but this one we are going to dedicate entirely to tooth whitening by the tray. By the time you finish reading this article, you may have become an expert on the subject. If you are interested in receiving porcelain veneers in Miami, call us at 786 603 7514.
What is tray whitening?
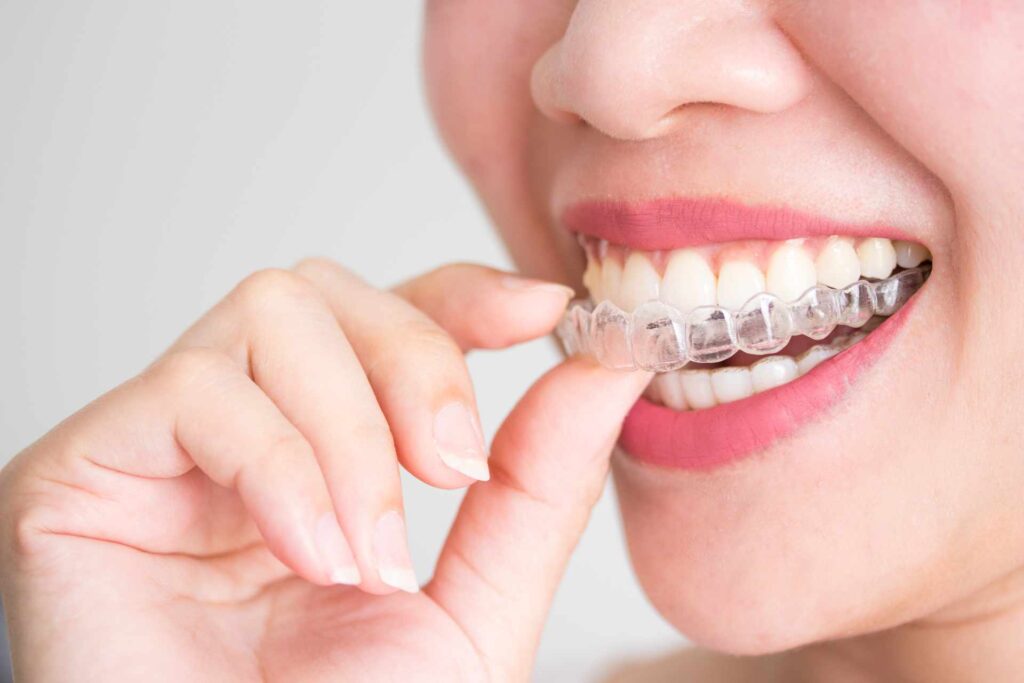
A dental splint is a personalized device for each denture, made of plastic or from resin, which is used for different types of dental treatments: whitening, orthodontics, periodontics or gums, dental radiology, surgery, protection, etc. In this article, we are referring specifically to the splint for tooth whitening.
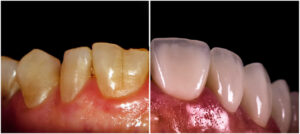
Dental splints must be made by laboratory specialists, after the exact registration of the patient’s teeth (although there are some with a generic shape). The tooth whitening tray is combined with a whitening gel, which is what manages to lower the shade of the teeth several shades and bring them closer to white. And we say, “closer to white” because the natural shade of teeth is never completely white.
The mechanism of action of the teeth whitening splint is similar to that of other tooth whitening methods. All tooth whitening is based on a whitening gel or product that is applied to the teeth. That whitener goes through tooth enamel (which is transparent) and into the dentin, which is the underlying structure and is what actually gives your teeth their color.
However, despite the fact that they are all based on the application of a whitening product, the rest of the tooth whitening methods differ. There are two methods based on the combination of the whitening gel with a beam of coherent light (either laser, UV, or LED). In these cases, the light has a photoactivating function that enhances the whitening action of the gel.
On the other hand, in the dental whitening splint method, it is manufactured to the exact size of the patient’s teeth and is combined with the whitening gel. As the gel remains fixed on the teeth, it can carry out its work for hours.
In general, the patient is recommended to use the splint for tooth whitening at night, during the time stipulated by the dentist. It is important not to exceed the time of use of the tooth whitening tray because it can affect the enamel of the teeth.
How to use whitening trays?
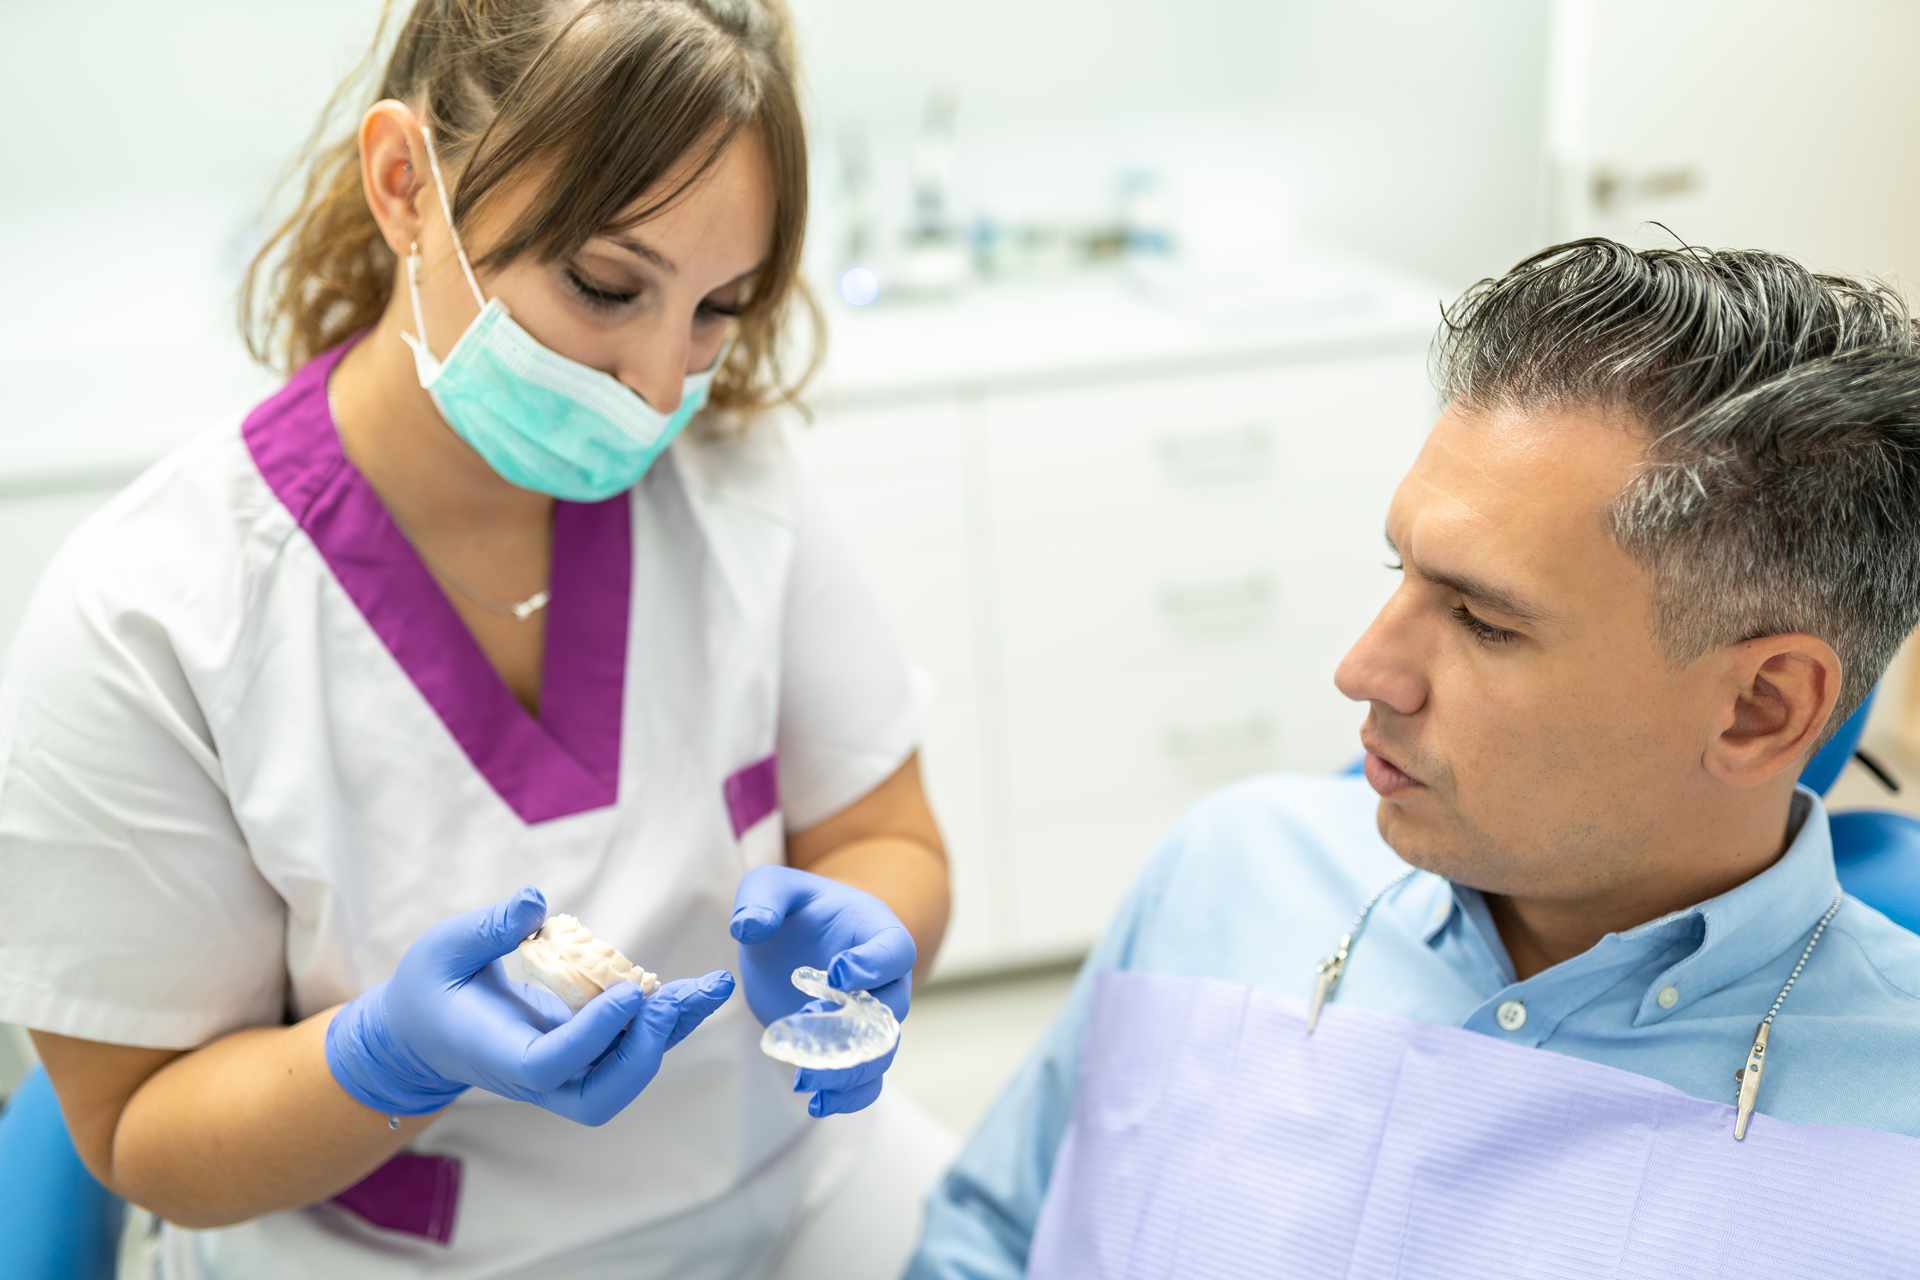
The first step is the fabrication of the tooth whitening tray. During the session in the dental clinic, a record of the patient’s teeth is taken, and an exact model of the mouth is made. Plastic, acrylic, or resin is applied to this model to make the splint. The whitening product will be placed inside the splint at the time of use at home.
In practice, the tooth whitening tray is used as follows:
1. Wear the tooth whitening tray at night
Doctors usually recommend the patient to use the tooth whitening splint at home at night, although the treatment is continued in the dental clinic. The duration of treatment with a tooth whitening tray is usually between 15 days and 1 month.
2. Apply the whitening product on the splint
The gel or whitening product kit should include some applicators, similar to a small syringe or similar device. Using this applicator, the patient will add the product to the inner walls of the dental whitening tray.
It is important to apply exactly the dose of the whitening product recommended by the specialist. If less is applied, the effect may not be achieved, and if more is applied, there is a risk of affecting the tooth enamel and experiencing tooth sensitivity.
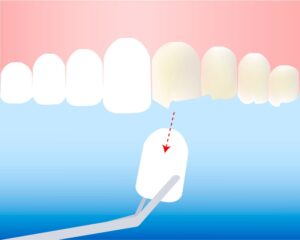
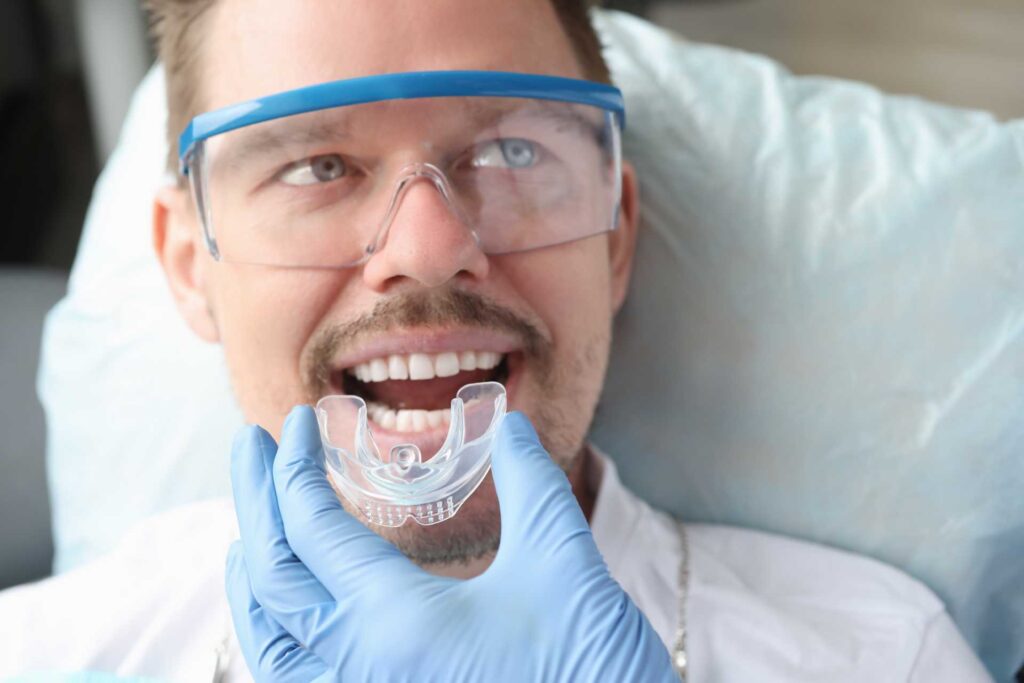
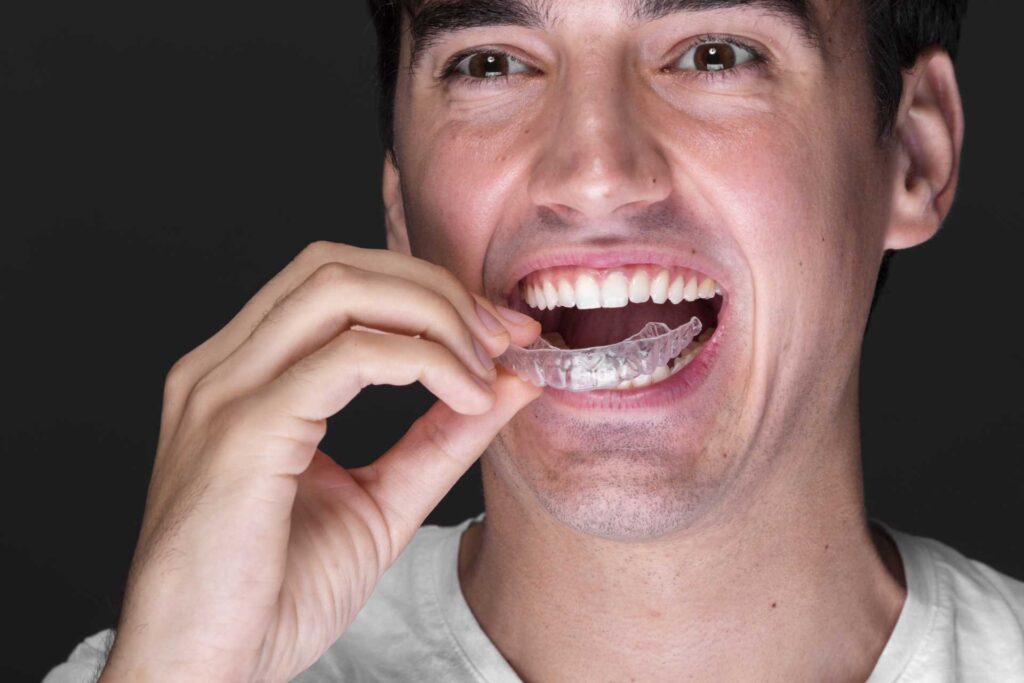
3. Put on the tooth whitening tray
After applying the whitening product to the inner walls of the splint, it is appropriate to place it on the teeth. The splint is made in the personalized shape of the patient’s teeth, but they have some space to accommodate the whitening product. The whitening product applied helps the splint fit the teeth exactly so that it is not uncomfortable for the patient.
4. It is normal to experience some tooth sensitivity
As we know, the outer layer of the teeth, the enamel, is not sensitive because it does not have nerve endings. The normal sensitivity of the teeth is “inside”, and dental comfort lies in the fact that the teeth are not sensitive on their surface but more inside.

Some patients, after using the tooth whitening tray, experience a temporary sensitivity on the surface of the teeth (to cold, heat, etc.). This is totally normal, although it does not happen to everyone.
After stopping the use of the tooth whitening tray, little by little the sensitivity disappears, and the teeth return to their normal state of the insensitive surface and only internal sensitivity.
How long does a tray whitening last?
Treatment with a dental whitening splint can be variable since it depends on the clinic that administers it and the response of the patient’s body. It is quite common for the tooth whitening tray treatment to last two weeks (15 days).
However, in cases where the patient experiences tooth sensitivity that they do not like, in order to protect the tooth enamel, the dentist may recommend a break in between. In this way, the treatment can be extended to 1 month, or perhaps a little more.
When does tooth whitening begin to be noticed?
Treatment with a tooth whitening tray is not one of the fastest, but it is highly effective. Although with other tooth whitening methods (photoactivation, for example) the effects can begin to be noticed on the first day, this is not the case with the tooth whitening tray.
It must be taken into account that gradual whitening can be one of the main advantages of treatment with a dental whitening tray, since the effects of dental sensitivity are minimized, and the enamel is protected to the maximum while the dentin is whitened.
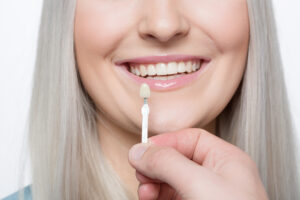
Thanks to this constancy, it is possible to lower several shades of the color of the teeth and bring them quite close to white with maximum protection for the teeth. It is probably the safest method of all. It is not for nothing that the dental whitening splint is the recommended procedure in cases where the treatment is required by younger people, such as children.
5 tips for using tooth whitening tray
- Apply the exact dose of whitening product to the splint. If you apply less, you will not achieve the desired effect, and if you apply more you can cause damage to the enamel.
- In the event of any unforeseen discomfort during the use of a dental whitening splint, consult a specialist, so that you do not put your tooth enamel at risk. Tooth enamel does not regenerate. If it gets damaged, you lose it.
- Preferably use a personalized tooth whitening splint of those that are manufactured in the laboratory after exact registration of your teeth. Avoid using a generic tooth whitening tray.
- Before a tooth whitening treatment (including the tooth whitening tray), it is necessary to cure any oral disease, be it cavities, dental fractures, periodontal disease, enamel problems, etc.
- We recommend that you do not use any commercially available tooth whitening tray kit. Consult the product with a dentist specializing in these treatments or allow them to recommend which product to use.